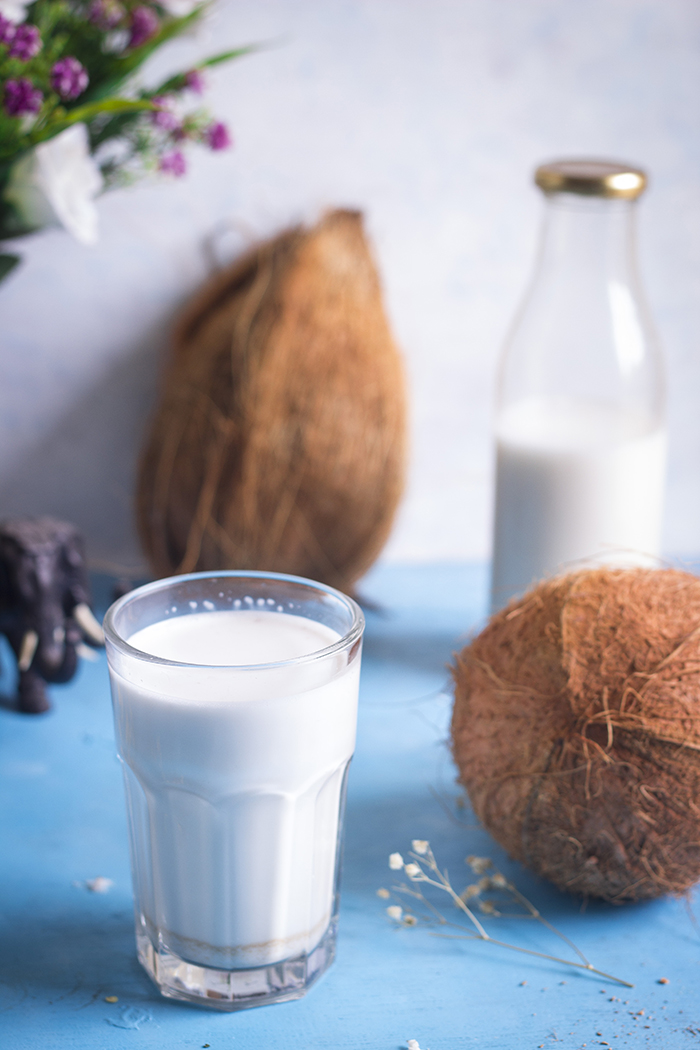
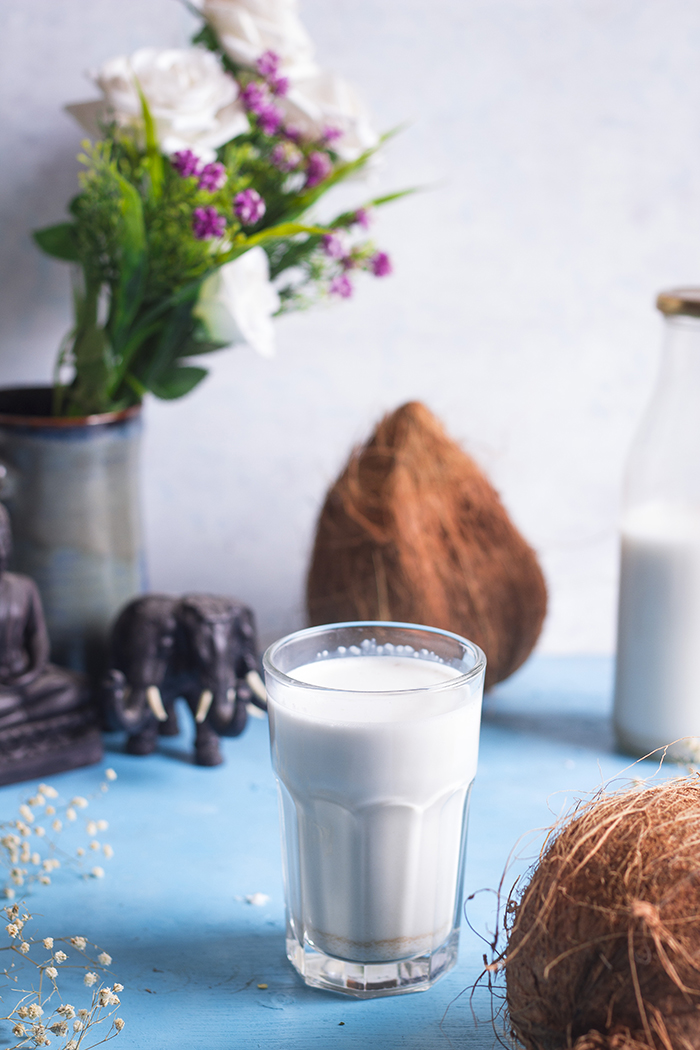
Coconut Milk recipe with step by step video instructions. How to make fresh coconut milk at home with fresh coconut. This recipe will show you how to make the thick first press and the thinner second press of coconut milk. This recipe is vegan, gluten-free and suits a Jain diet.
In a hurry? Jump to Video or Jump to Recipe
I am all about making my own coconut milk at home. The milk is fresh and free of any additives, preservatives, emulsifiers, and whatnot. And it tastes GREAT!
Your coconut milk will be as good as the coconut you choose. If you can get the sweetest and meatiest variety, go for it. Just a note, that coconut milk cannot be made with the green tender coconut that you get to drink on roadsides, you need regular cooking coconut - the brown one. But not the Khopra or dried one.
Making coconut milk is easy if you have someone to grate the coconut for you. In my case, Raj and I divided the work and it wasn't tiring at all. My advice is to get as much of the white flesh as possible and to avoid using the brown part of the coconut, that is closer to the shell.
Once you have the grated flesh, put it in a blender/mixer with just enough water to get the mixer started. I needed at least 1 cup, you may need more or less depending on the style of the mixer. The less water you add, the thicker is your first press. You don't need to grind the coconut, just pulse enough for a shorter duration to get the juices out.
After you have blended the coconut, you can add all the pulp to a muslin cloth and squeeze out all the milk in one go, or like my video, you can do it by the fistfuls. Whichever is easier for you. This is your first press which is thicker and richer.
To get the second and third press (I wouldn't go beyond this), to the squeezed pulp, add more water. Again, it depends on how thin you want the coconut milk to be, so add water accordingly. I added 1 cup again. Massage the water into the pulp and again, squeeze out the milk either by the fistful or using a muslin cloth. This is the thinner second press. Repeat the same for the third press.
The options are so vast. This fresh coconut milk can be used to make curries, desserts, smoothies, or use it to soak up your cereal. I've tried all these and it works fantastically. The only thing I've never tried is using it in my tea or coffee. If you do, let me know how it turns out.
If you made this recipe, let me know! Leave a comment here or on Facebook, tag your tweet with @oneteaspoonlife on Twitter and don't forget to tag your photo @oneteaspoonoflife on Instagram. You can also email me at onetspoflife@gmail.com I'd love to see what you are up to.Why you should make your own Coconut Milk:
- It's FRESH! I cannot think of a more appropriate reason.
- No additives of any kind - emulsifiers, xanthan gum, preservatives, nothing, NADA.
- You get to decide the thickness of the milk. It is completely up to you to either stop at the first press or to go thinner to the second or even third press.
- You can go crazy with the flavoring, or you can just leave it plain.
- You can make just as much as you need. This one ranks really high for me. I always mess up with how much I need if I buy, making my own lets me control that.
The details...
Your coconut milk will be as good as the coconut you choose. If you can get the sweetest and meatiest variety, go for it. Just a note, that coconut milk cannot be made with the green tender coconut that you get to drink on roadsides, you need regular cooking coconut - the brown one. But not the Khopra or dried one.
Making coconut milk is easy if you have someone to grate the coconut for you. In my case, Raj and I divided the work and it wasn't tiring at all. My advice is to get as much of the white flesh as possible and to avoid using the brown part of the coconut, that is closer to the shell.
Once you have the grated flesh, put it in a blender/mixer with just enough water to get the mixer started. I needed at least 1 cup, you may need more or less depending on the style of the mixer. The less water you add, the thicker is your first press. You don't need to grind the coconut, just pulse enough for a shorter duration to get the juices out.
After you have blended the coconut, you can add all the pulp to a muslin cloth and squeeze out all the milk in one go, or like my video, you can do it by the fistfuls. Whichever is easier for you. This is your first press which is thicker and richer.
To get the second and third press (I wouldn't go beyond this), to the squeezed pulp, add more water. Again, it depends on how thin you want the coconut milk to be, so add water accordingly. I added 1 cup again. Massage the water into the pulp and again, squeeze out the milk either by the fistful or using a muslin cloth. This is the thinner second press. Repeat the same for the third press.
How to use the Coconut Milk?
The options are so vast. This fresh coconut milk can be used to make curries, desserts, smoothies, or use it to soak up your cereal. I've tried all these and it works fantastically. The only thing I've never tried is using it in my tea or coffee. If you do, let me know how it turns out.
Some recipes to get you started:
If you like this recipe, do not forget to share it with your friends and family!
Video Recipe
--------------------------------------------------------------------------------------------------------------------------
Coconut Milk Recipe | How to make Coconut Milk at home
 How to make coconut milk from fresh coconut. Recipe of coconut milk with step by step video instructions.
Recipe Type: Beverage
Cuisine: Asian
Prep Time: 40 minutes
Cook time: 0 minutes
Total time: 40 minutes
Yield: 2.5-3 Cups
Ingredients:
1 large Coconut
2-3 cups Water
Method:
1. Break the coconut and grate the flesh. Try to only get the white flesh, avoid grating the brown part that is closer to the shell.
2. Add the grated coconut to a blender or mixer and add in just enough water to get the mixer going. We added 1 cup of water. The lesser the water, the thicker the coconut milk, so add accordinly.
3. Pulse the mixer for 30-45 seconds until the coconut releases its juices. Don't completely blend the coconut into a paste or chutney.
4. To squeeze out the coconut milk, you can empty the contents of the mixer onto a muslin cloth and squeeze it until all the juice is out, or you can take a little pulp in the hand and squeeze it to extract the milk. Sieve the juice to remove any pulp.
5. Do not discard the pulp.
6. After you have squeezed out all the pulp, you get the thick first press of coconut milk.
7. To make the thinner second press or more, add water to the pulp and massage it in.
8. Repeat the same process of squeezing out the milk as described in step 4.
9. This is the thinner second press. You can continue to do it for further presses, although we recommend stopping at third press.
10. If not using immediately, store the coconut milk in the fridge and use it within 2-3 days.
If you liked this, you may also like:

