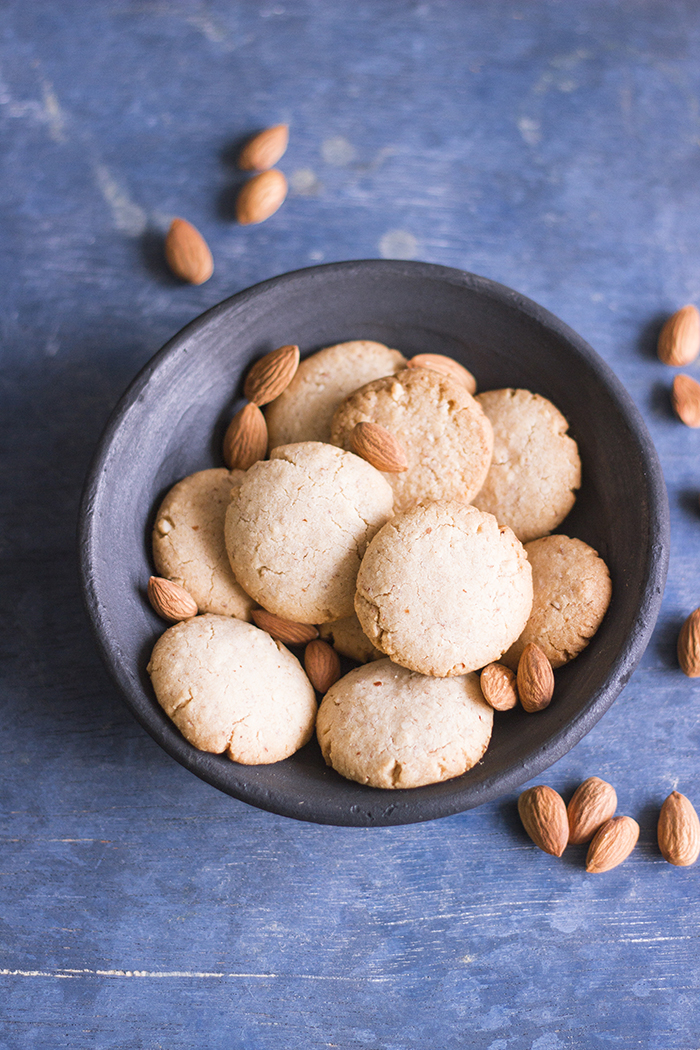
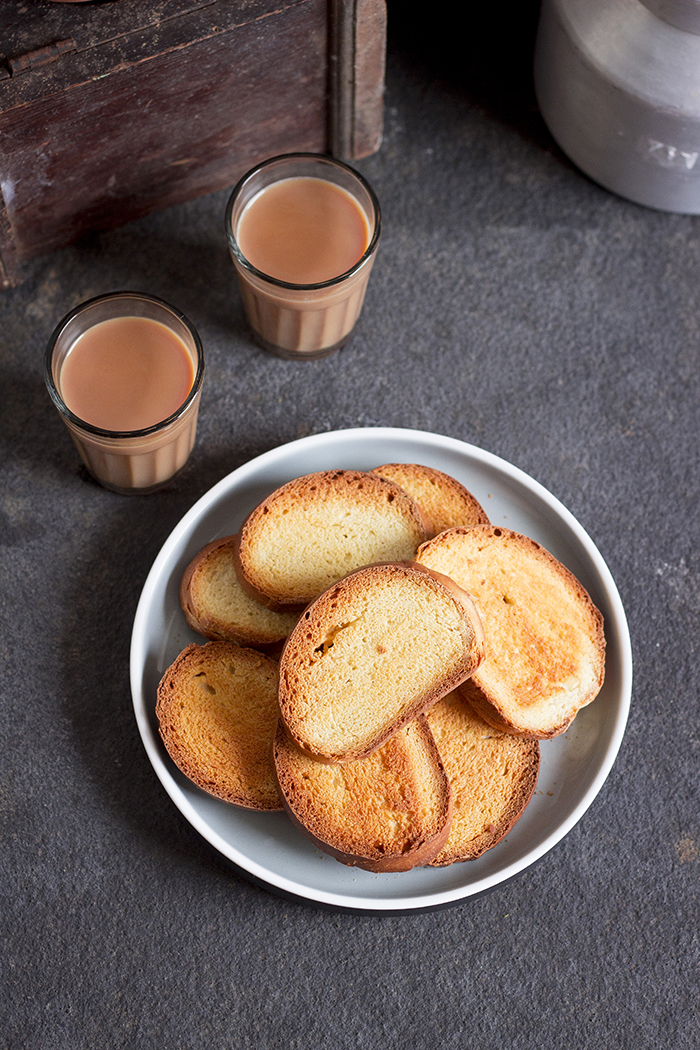
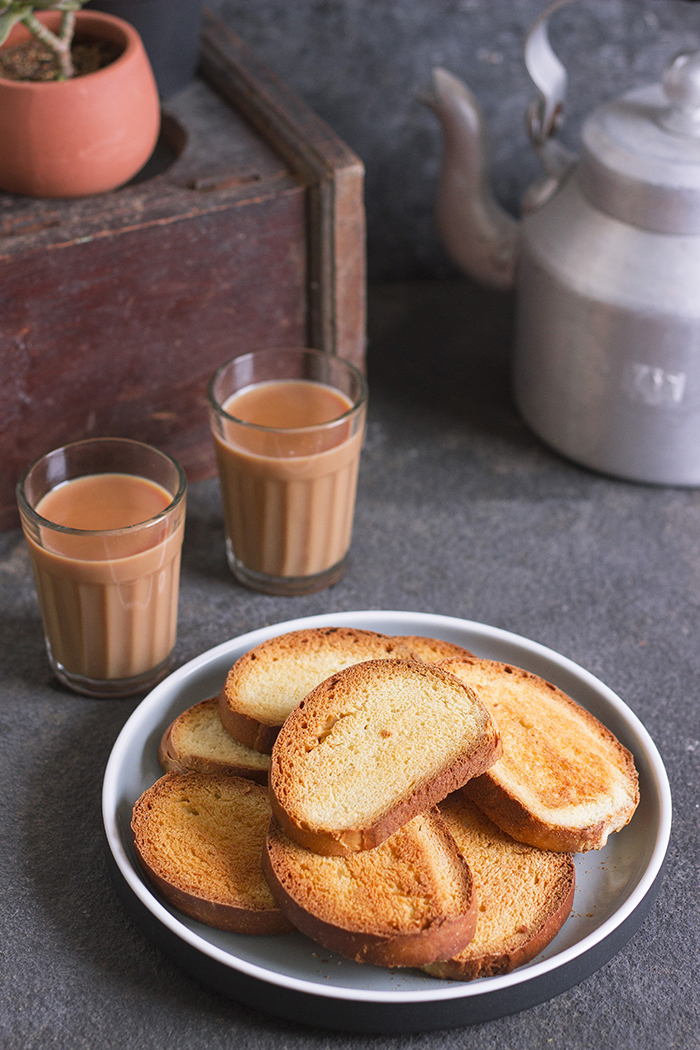
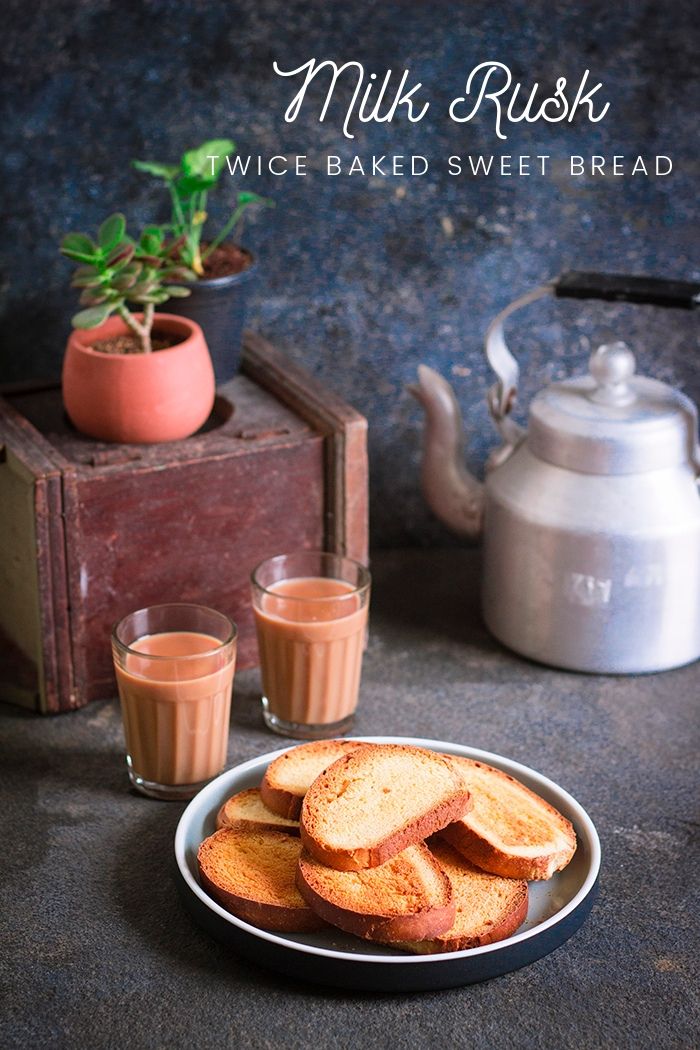
Milk Rusk is a twice baked sweet bread. Milk Rusk is sweet and tastes best with a hot cup of tea. Rusk is a popular tea-time snack in India.
In a hurry? Jump to Video or Jump to Recipe
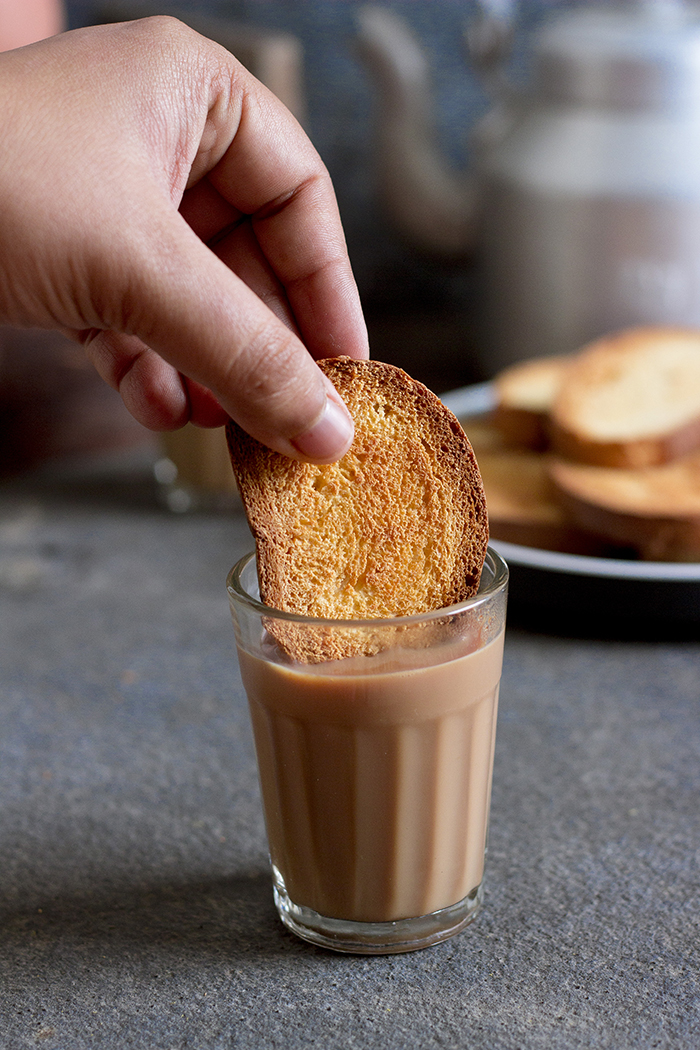
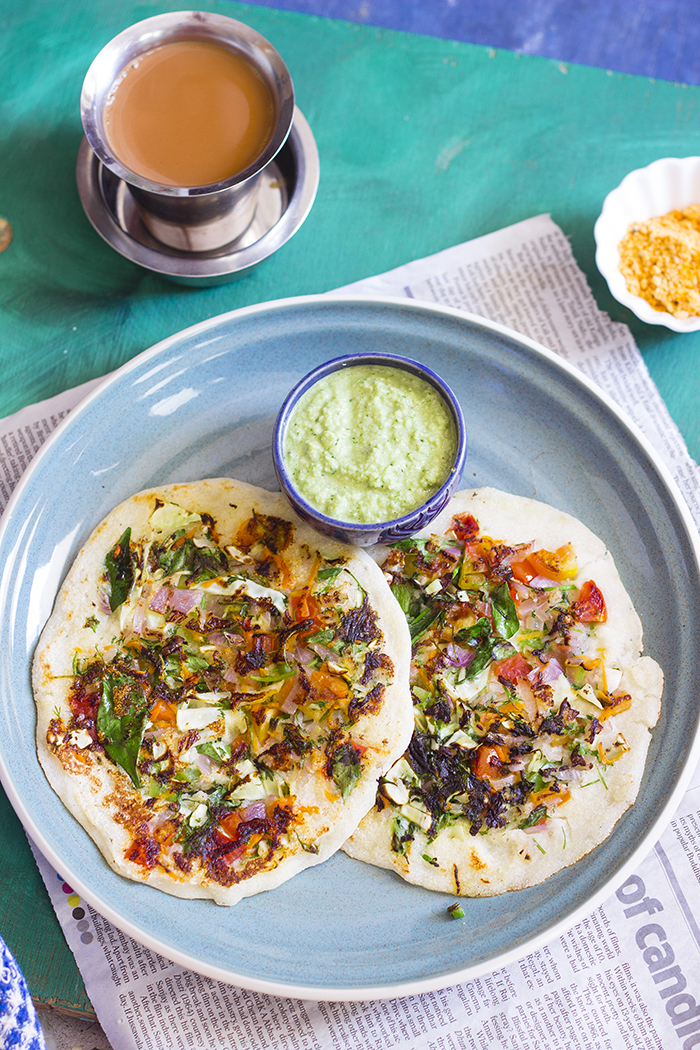
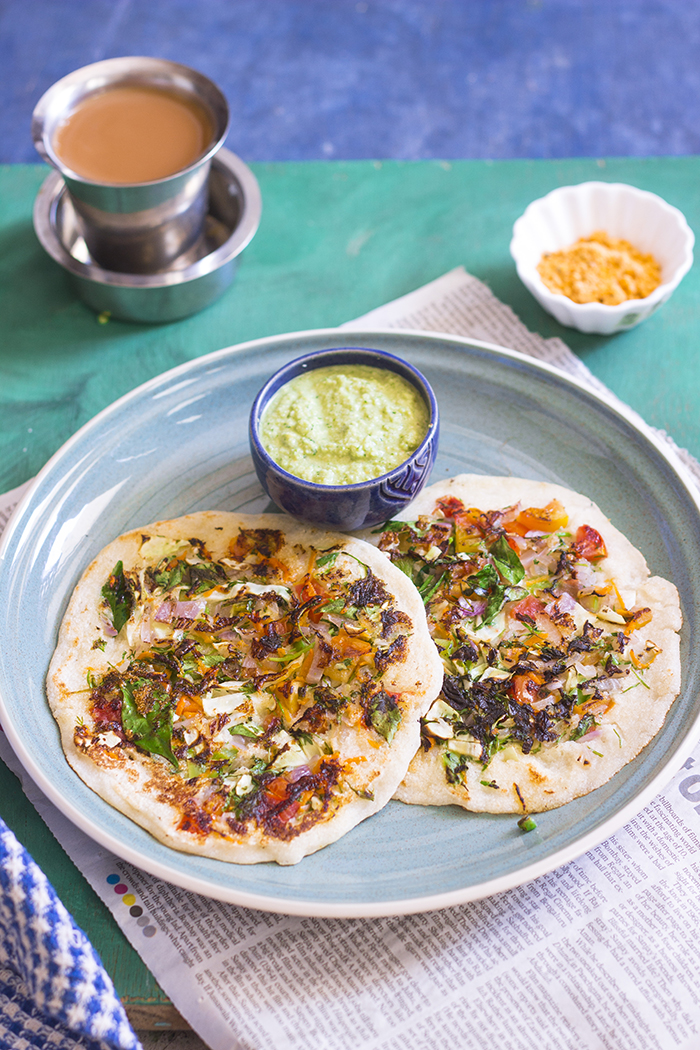
How do you like your chai/tea? I like mine slightly strong with little milk and 1 tsp of organic jaggery powder, that brown chocolatey kind, with a rusk to dunk into it.
I LOVE dunking biscuits and rusks in my tea. I sometimes dunk cakes and bread too, but that's a story for another day. I've been dunking rusks for years and loved how the crispy hard rusk just melts once dunked. My snack box usually has a packet of rusk from the local bakery, coz those are the BEST!
So one Saturday, when I was relatively free, I decided to bake some myself. So there are sweet rusks and savory rusks. I am not sure if the savory one is native to only Bangalore and surrounding areas because I had never seen one before. But that's my least favorite one, so totally ignoring the existence of that one. There are 2 types of sweet rusks, the bread rusk and the cake rusk. The cake rusk is like a biscotti, where one bakes a cake first and then slices it and bakes again until it dries up and becomes a crisp sweet cake rusk. That's a recipe I still need to try. This time I tried the second recipe, which is of bread rusk.
To make the bread rusk, one needs to bake a sweet bread first and then slice it and bake it again until it dries up to give the crispy hard rusk that we all enjoy.
About the Sweet Bread
- Bread rusk takes a considerably longer time to make because it includes the rise time of the bread. However, this is free time as you don't need to monitor it, just leave it in a warm place to rise.
- Sweet bread takes longer than regular bread to rise. The added sugar slows down the process, so you will have to wait longer. It took me around 4 hours to get a good rise out of the bread, it may take longer if you live in a cooler area.
Once the bread is ready, it doesn't take very long to make the rusks if you have a large oven and a sheet pan. I had to make mine in batches, so it took me some time to bake them all.
But the wait was worth it! The satisfaction of dunking a home baked rusk exceeded the boredom of the waiting period. Happy Rusk Baking to you!!
If you made this recipe, let me know! Leave a comment here or on Facebook, tag your tweet with @oneteaspoonlife on Twitter and don't forget to tag your photo @oneteaspoonoflife on Instagram. You can also email me at onetspoflife@gmail.com I'd love to see what you are up to.
If you like this recipe, do not forget to share it with your friends and family!
Video Recipe
--------------------------------------------------------------------------------------------------------------------------
Milk Rusk Recipe | Sweet Bread Rusk Recipe
Milk Rusk is a twice baked sweet bread. Milk Rusk is sweet and tastes best with a hot cup of tea. Rusk is a popular tea-time snack in India.Recipe Type: Snacks
Cuisine: Indian
Prep Time: 6 Hours
Cook time: 1 Hour
Total time: 7 Hours
Yield: Makes 20-25
Ingredients:
2 cups All purpose flour
0.5 cup Milk Powder
3-4 Tbsp powdered Sugar
0.5 cup lukewarm Water
1 tsp Sugar
1 tsp Active Dried Yeast
1 tsp Oil
1 tsp Milk
Water as required
Method:
1. Add the 1 tsp of sugar and the active dried yeast into the lukewarm water and mix well. Keep is aside for 5-10 minutes to bloom.
2. Take the flour, milk powder and powdered sugar in a large bowl.
3. Add the yeast and mix well.
4. Knead into a smooth dough using water.
5. Coat the dough with the oil and cover and keep aside to rise until doubled. This may take 2-4 hours.
6. Once the dough has doubled, punch it down and knead it gently for 2-3 minutes.
7. Divide the dough into 2 and shape into rolls. Cover and keep aside to rise again.
8. Preheat the oven to 180 degree C.
9. Once the loaves have doubled, brush the loaves with milk and bake for 30-40 minutes until done.
10. Allow the bread to cool completely, then slice into rusk slices.
11. Preheat the oven to 180 degree C.
12. Place the rusk in a single layer in a baking tray and bake for 20-30 minutes.
13. Flip the rusks after 10 minutes.
14. Cool on a wire rack.
15. Store in an airtight container. Serve with tea or coffee.
If you liked this, you may also like:
|
|
|