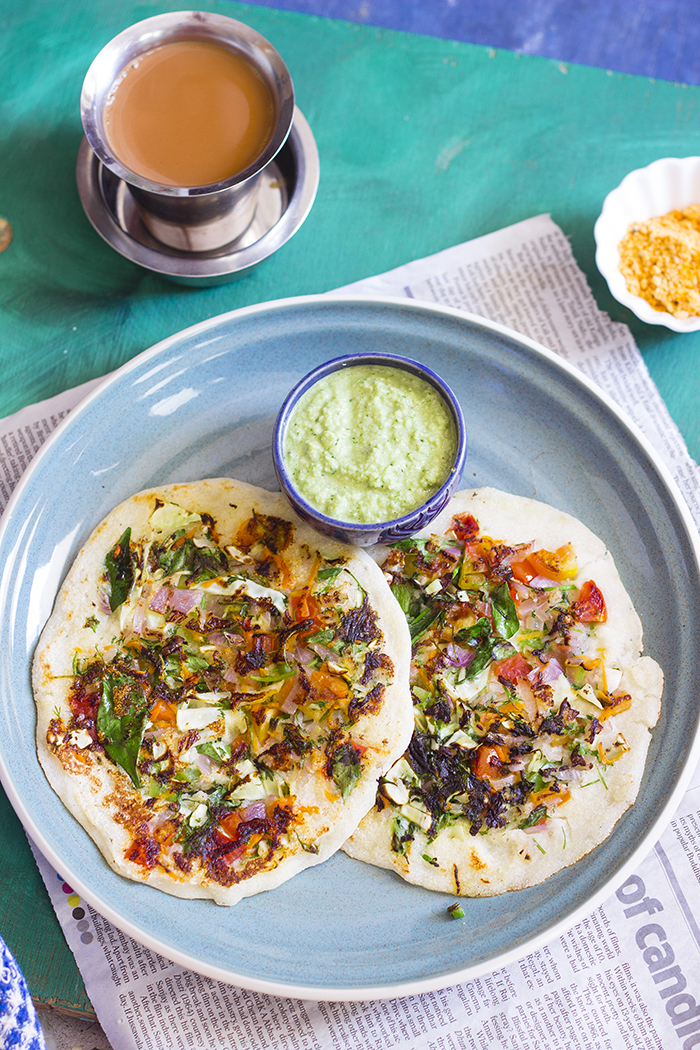
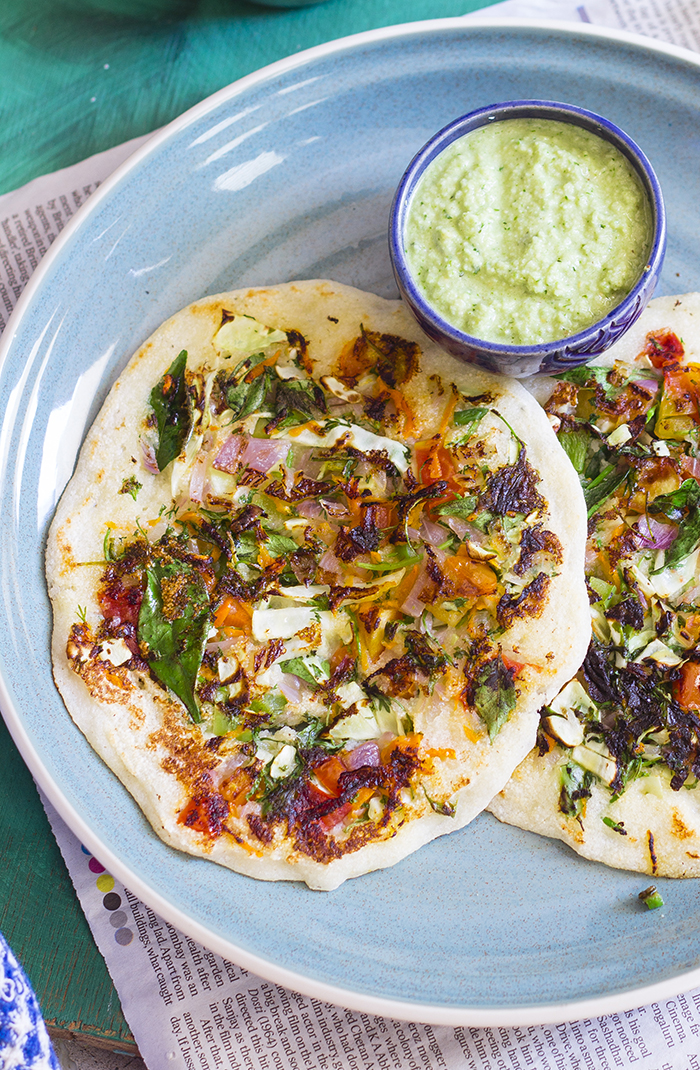
Instant Mix Vegetable Uttappa is a quick savory South Indian pancake that is made from semolina and topped with finely chopped vegetables. It is popularly served as breakfast along with some fresh coconut chutney.
In a hurry? Jump to Video or Jump to Recipe
In a hurry? Jump to Video or Jump to Recipe
I'm a complete breakfast lover! These days breakfast is served with a side of "Man with a Plan" playing on Amazon Prime. The show on the side changes, but the love for breakfast never does.
Right from childhood, I've always woken up hungry. It doesn't matter what time I wake up, it could even be a short afternoon nap, but I am hungry for the first 10 minutes after I wake up. It seems like I spend a lot of energy in sleeping and dreaming. But this also gives me the opportunity to actually enjoy my breakfast. I've heard of people forgetting to eat their breakfast (Gee!) and people not being hungry even an hour after waking up (Raj!), but not me, I was born to enjoy the first meal of the day.
Since this has always been my favorite meal, I keep searching for recipes and ideas to keep it interesting. And for me breakfast has to be instant, else it has to be made the previous night. I cannot wait for hours to prepare something. So instant recipes are always a hit with me, like this Instant Mix Veg Uttappa.
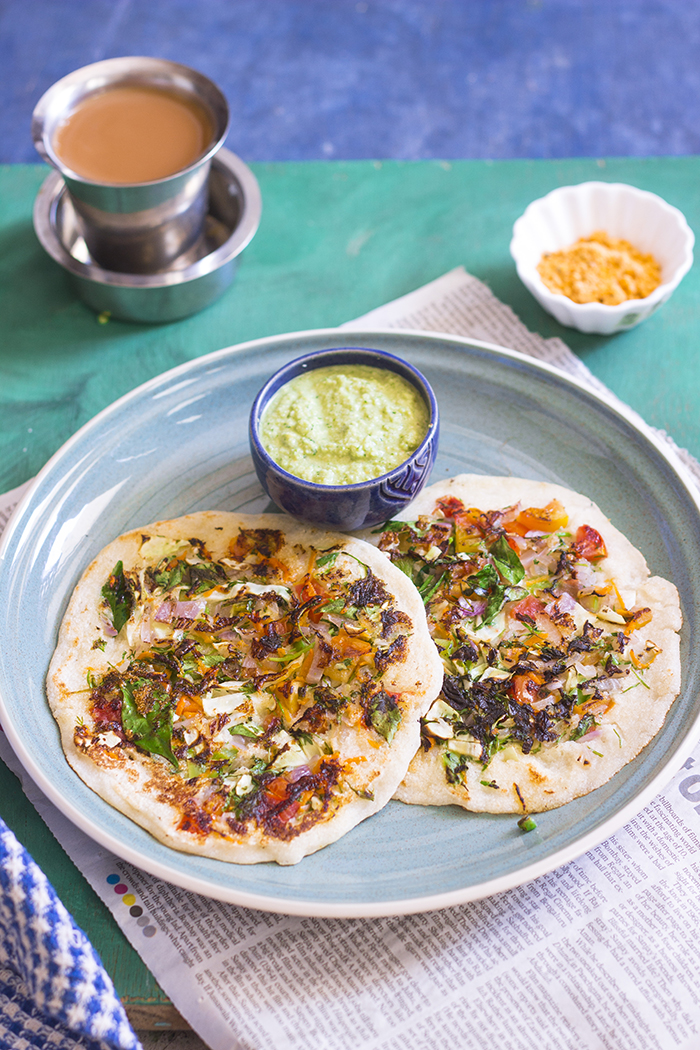
To tell you the truth, Uttappa is my favorite way to eat a dosa, even over a Masala Dosa. It's something about those charred onions on top that just makes me want it more than the others. I just went a little ahead with this Instant Uttappa, I topped it not just with onions but with a mixture of vegetables. You can keep it traditional and just use onions, or just use tomato. I love Tomato Uttappa too, with a little bit of spicy chutney pudi sprinkled on top of it.
This Instant Mix Veg Uttappa requires just a few ingredients. Rava or Semolina or Sooji forms the base along with some sour plain curd (yogurt). A pinch of baking soda or cooking soda is added to give it that slight fluffiness. You can also use fruit salt like Eno, but add just a pinch. These ingredients along with salt and water just form the dosa, the actual base of the Uttappa. As I mentioned earlier, you can now top this with vegetables of your choice - traditional choices are onions or tomatoes, I used a variety - onions, tomatoes, cabbage, capsicum and carrot along with some green chillies, curry leaves and coriander.
Instant Mix Veg Uttappa can be served for breakfast or as an early evening snack. You can also serve it for dinner (I'm a big "breakfast-for-dinner" person).
Serve the Uttappa with a fresh coconut chutney.
If you made this recipe, let me know! Leave a comment here or on Facebook, tag your tweet with @oneteaspoonlife on Twitter and don't forget to tag your photo #oneteaspoonoflife on Instagram. You can also email me at onetspoflife@gmail.com I'd love to see what you are upto.
If you like this recipe, do not forget to share it with your friends and family!
Video Recipe
--------------------------------------------------------------------------------------------------------------------------
Instant Mix Vegetable Uttappa Recipe
Instant Mix Vegetable Uttappa is a quick savory South Indian pancake that is made from semolina and topped with finely chopped vegetables. It is popularly served as breakfast along with some fresh coconut chutney.Recipe Type: Snacks, Breakfast
Cuisine: Indian
Prep Time: 20 minutes
Cook time: 15 minutes
Total time: 35 minutes
Yield: 5 to 6
Ingredients:
1 cup Semolina (Rava)
0.75 cup Yogurt (Curd)
1 cup Water
0.25 tsp Baking Soda
1 Onion, finely chopped
0.5 Tomato, finely chopped
0.5 cup Cabbage, finely chopped
0.5 Carrot, grated
2 Tbsp Capsicum, finely chopped
1 Green Chilli, finely chopped
Curry leaves
Coriander leaves, finely chopped
Oil to make the dosa
Salt to taste
Method:
1. Mix together semolina, yogurt, 0.5 tsp salt and 0.25 cups of water until well combined and keep aside for 20 minutes.
2. After 20 minutes, add in the baking soda and mix.
3. Add a little water and mix until there are no lumps. Add more water as required, the batter has to be of the same consistency of a dosa or pancake batter.
4. If the batter is too thin, you can add in a little rice flour.
5. Mix together the onions, tomatoes, carrots, cabbage, capsicum, curry leaves, green chilli and coriander leaves in a separate bowl.
6. Add a little salt and mix well.
7. Grease a dosa tava or a flat frying pan.
8. Once the tava is hot, pour one spoonful of batter onto it.
9. Top it with the mix vegetables. Pour a teaspoon of oil on the top.
10. Allow the uttappa to cook for 1-2 minutes on one side or until slightly browned. Cook on low to medium heat.
11. Flip the uttappa and allow it to cook completely, approximately 2-3 minutes.
12. Remove from tava and serve hot along with some fresh coconut chutney.
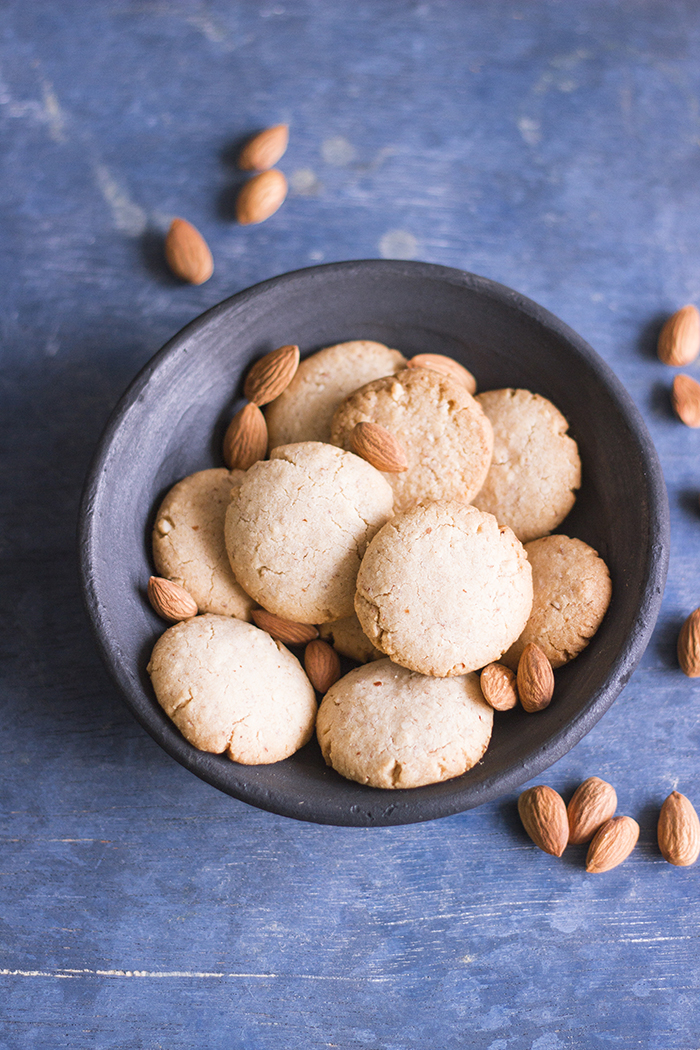
If you liked this, you may also like:
|
|
|