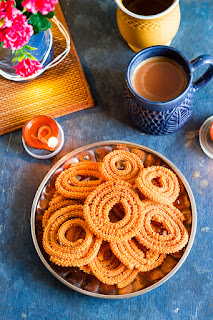
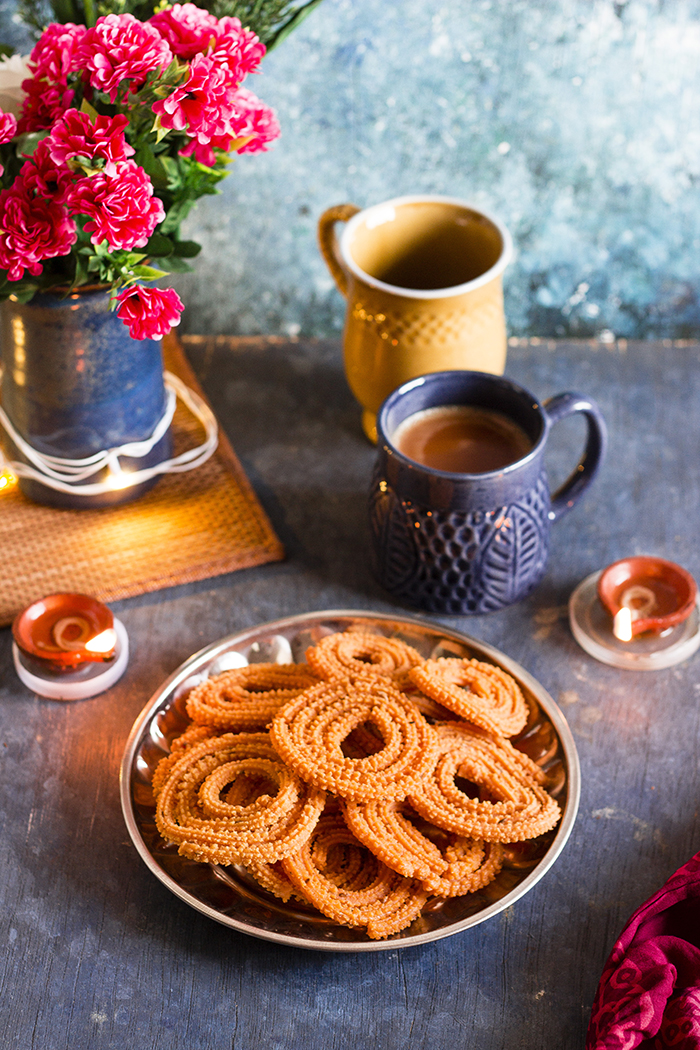
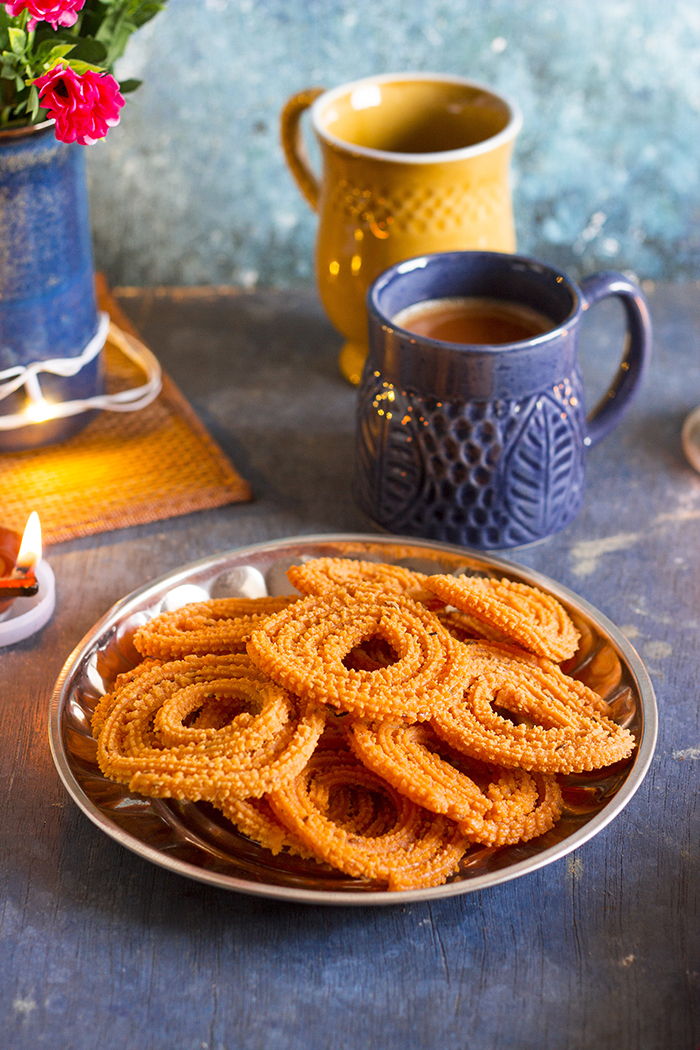
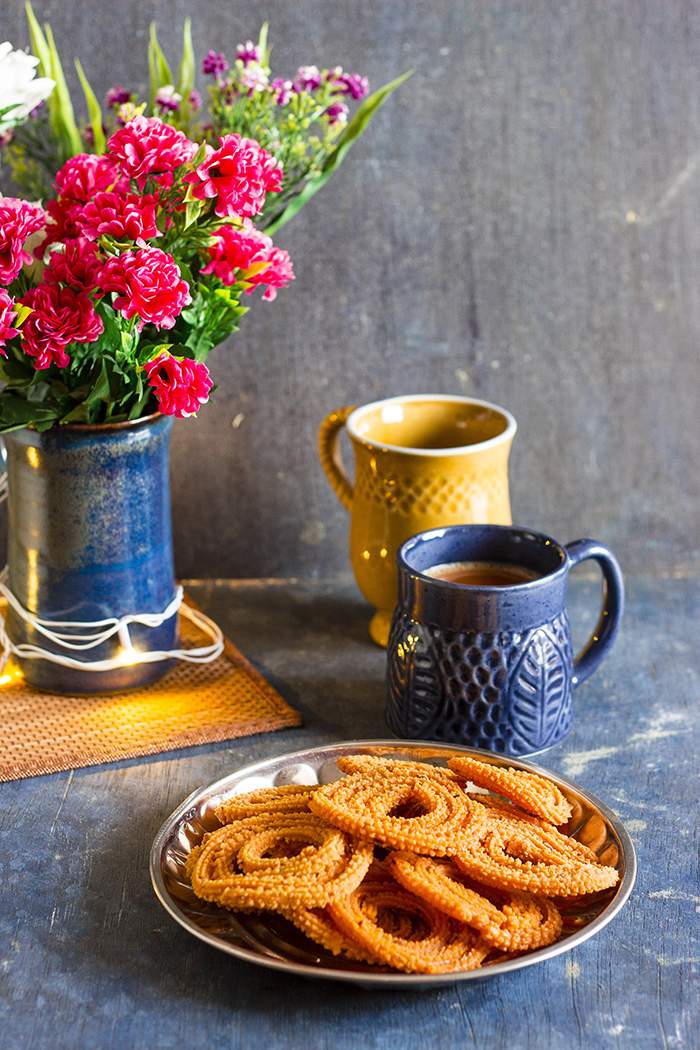
Chakli is a deep fried savory Indian snack that is popularly made for Diwali. Chakli is a spiral snack made from rice and black lentil (urad dal) flour and can be enjoyed in a gluten free diet. This recipe will show to how to make chakli from scratch along with a video tutorial.
In a hurry? Jump to Video or Jump to Recipe
In a hurry? Jump to Video or Jump to Recipe
Soooo.... this post comes almost a month later than what it should have been posted. I had planned to post this Chakli recipe before Diwali, so you guys could try it for Diwali. But I totally missed it. I thought of waiting for next year to post it, but then who has the patience to wait another year. And I figured out, you don't need Diwali around to make Chakli, you can make it anytime you like. With cold weather coming our way, the demand for deep fried goodness is only going to go up. So here's the recipe for the crispy crunchy Chakli.
There are several variations of the Chakli - Palak Chakli, Butter Chakli and what my friend told me recently, there's even an Jalapeno Chakli out there. But this is the recipe for the traditional chakli.
Some background.
It’s been years that I have been planning to cook snacks and sweets for Diwali and restart our old tradition of visiting friends and family and sharing those delicacies with them. But for the last 2 years, I’ve been out of country for Diwali (visiting Bali and Cambodia). So while I made elaborate plans on what to cook and how to box them, it never materialized. But this Diwali was different, I was in country and better yet, I was in Goa. Gee and I split up the dishes and managed to put up two savory and two sweets on the plate. It was such a delight!
I had several ideas for the savory snack and while I had Chakli at the back of my mind, Gee picked it too. Chakli was what my mom made every Diwali when we were little and gave it to everyone in the apartment complex. And this year, I restarted that tradition.
I made Chakli several times in the last one month, I made trial batches and I made more batches for distributing. With all the Chakli making so fresh in my mind, I'm at my best to give you all the tips and tricks required to make the perfect Chakli. There are several small things that impact how your Chakli turns out, and I have included it in the Notes section at the bottom of the recipe. Who knew, that things like humidity and temperature could affect your Chakli?
There are different varieties of Chakli Press available in the market, you can buy:
If you made this recipe, let me know! Leave a comment here or on Facebook, tag your tweet with @oneteaspoonlife on Twitter and don't forget to tag your photo #oneteaspoonoflife on Instagram. You can also email me at onetspoflife@gmail.com I'd love to see what you are upto.
If you like this recipe, do not forget to share it with your friends and family!
Video Recipe
--------------------------------------------------------------------------------------------------------------------------
Traditional Chakli Recipe
 Chakli is a savory deep fried Indian snack that is popularly made for Diwali. Chakli is a crispy spiral snack made from rice and lentil flour. It is a spicy crunchy vegetarian snack.
Recipe Type: Snacks
Cuisine: South Indian
Prep Time: 10 hours
Cook time: 60 minutes
Total time: 10 hours 40 minutes
Yield: 80-90
Ingredients:
3 cups or 570 gms raw Rice
1 cup or 190 gms Urad Dal
0.75 cup or 75 gms Ghee
0.5 cup Oil
5 tsp Cumin Seeds
2 tsp Red Chilli Powder
1 tsp Asafoetida (Hing) (Use gluten free hing to suit a gluten free diet)
2-4 tsp Salt
3-4 cups Water
Oil to fry
Water as required
Method:
To make the Chakli Flour:
1. Wash and drain the rice. Spread it on a dry muslin cloth in a single layer to dry overnight or for 8-10 hours.
2. Once the rice is dry, dry roast it in a kadhai until all the moisture evaporates and the rice turns bright white. Roast on low flame by stirring occassionally. Do not allow the rice to change color or burn. Remove from heat and allow to cool.
3. Dry roast the urad dal on low heat until it turns pinkish-brown. The dal will turn fragrant once roasted well. Stir occassionally and do not allow the dal to burn. Remove from heat and allow to cool.
4. Once the rice and urad dal have cooled, grind it into a smooth powder in batches. You can either do this at home in a mixer or get it powdered at a mill.
5. Sieve the flour to remove any unpowdered rice or dal.
6. With the quantities used in this recipe, you should get around 750-760gms of chakli flour.
To make the Chakli:
7. Grind 3 tsp of cumin seeds into a coarse powder. Alternately you can use roasted cumin powder.
8. Add the cumin seed powder to the chakli flour.
9. Next add in the red chilli powder, remaining cumin seeds, hing and 2 tsp of salt and mix it roughly. Hing or asafoetida may contain wheat and hence avoid it if making a gluten free version.
10. Add in melted ghee and rub it in the flour.
11. Add hot oil by the spoonfuls and rub it in the flour. Squeeze a bit of the flour in your palms, if it holds the shape, you can stop adding oil. If it crumbles away, add more oil and mix.
12. Once you have added all the oil, add in water slowly and start kneading until you have a smooth dough. Adjust seasoning or spices as you continue to knead.
13. Once you have a smooth dough, cover with a wet cloth and keep aside.
14. Grease the chakli press well.
15. Take a ball of dough and stuff it in the chakli press.
16. Press out the chaklis onto a smooth plastic sheet.
17. Heat oil in a kadhai for deep frying. Add a small piece of flour to test the oil. If the piece floats up, the oil is hot enough.
18. Once the oil is hot, carefully pick up the chakli and add it to the oil. Fry in batches and do not crowd the kadhai.
19. Once you have added the first batch of chaklis, lower the heat to a minimum and allow to cook for 4-5 minutes. Depending on the quantity of oil you have in the kadhai and the stove settings, you may require more or less time than what is mentioned. Try a test batch first to get the time and temperature of the stove correct. See notes for more tips.
20. Remove from oil and place it onto a absorbent kitchen towel to cool.
21. Once cool, store in an airtight box.
22. Serve at room temperature with tea.
Notes:
- To make the chakli gluten free, do not add hing or asafoetida.
- To make the chakli vegan, you can replace ghee with oil.
- To make the chakli richer tasting, the oil can be replaced with ghee or butter. Butter can also be used in place of ghee or oil completely.
- If you are making chakli for the first time, it is better to make the dough in small batches, so that you can correct the next batch if required. Humidity and temperature in your house may change the amount of ghee/oil required in your recipe, a trial batch will help get that quantity right.
- If the chaklis start breaking when you try to shape them, then add more water to the dough and try again. The water can be added to small batches of dough as you go along.
- If the chaklis start breaking in the oil while frying, that means the amount of ghee or oil added to the dough is more than required. Add it a little dry flour and knead again.
- The chakli flour can be stored for 1-2 months in a dry airtight container.
- The chakli dough cannot be stored and it is recommended to make chakli with fresh dough.
- Cooking the chakli is the trickiest part, make sure the oil is hot when you drop in the chaklis, after that set the stove to sim or minimum heat. Cook on a low temperature until crispy. The high temperature gives color to the chakli while the low temperature cooks it all the way through making it crispy. It is recommended to make a few trial batches so that you get the temperature and time required in your environment.
- Allow the chaklis to cool completely before storing, else they may get soft.
If you liked this, you may also like:


